Checklist: Preparing a Motif Collection for Licensing
A practical, step-by-step checklist for getting a motif collection pitch-ready — seamless repeats,...

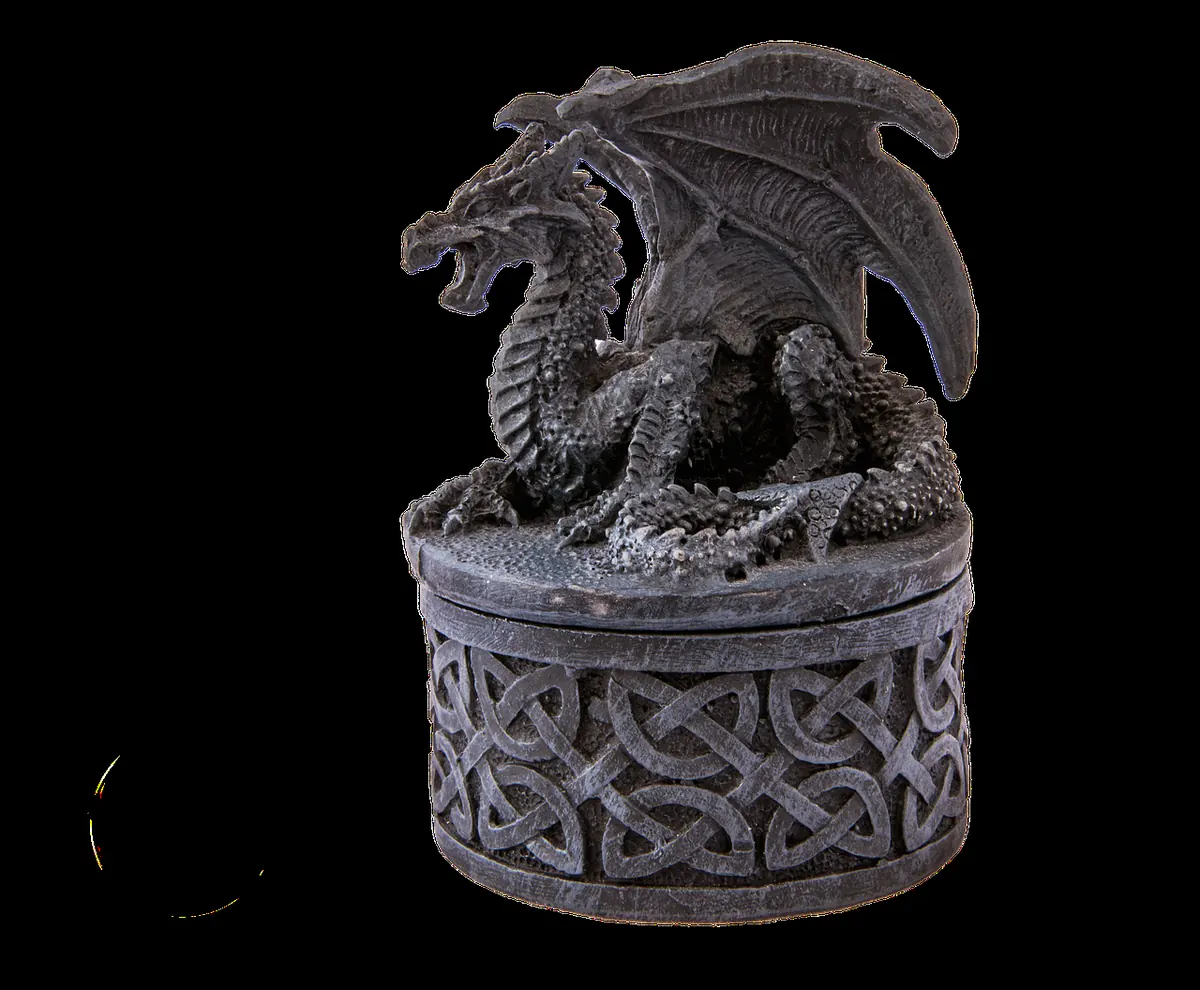
A Celtic knot looks like the work of a monk with a very steady hand and an unreasonable amount of patience. It isn't. Every interlocking knot, from a two-inch border to a cathedral floor panel, is built from the same two decisions repeated: where the path turns, and which of the two strands at a crossing sits on top. Make those decisions consistently and the knot very nearly draws itself. The grid-and-over-under method is how knotwork has been laid out for centuries, and it is still the quickest route from a blank sheet to something that reads as deliberate rather than tangled.
Before the pencil comes out, get these straight. Everything else is technique.
One continuous path. In a medallion, the ribbon is a single unbroken strand that loops back on itself: no loose ends, no branches, no strand quietly stopping in the middle. In a border, the strands run off the edge of the frame and are cut cleanly by it. A knot with an end flapping loose stops reading as a knot.
Strict alternation. Put a finger on any point of any strand and trace it. It passes over a crossing, then under the next one, then over. Over, under, over, under, without exception. No strand may cross over two times in a row, and no crossing may involve more than two strands.
That is the whole trick, and it is why knotwork looks woven rather than knotted. Your eye picks up the regular rhythm of overs and unders and reads it as structure — even when the shape itself is complicated.
Knotwork is not freehand drawing. The grid is what keeps the spacing even and the angles honest, and it is what allows you to repeat a unit across a page without the pattern drifting out of alignment.
Use smooth cartridge paper — around 160gsm is pleasant to work on and takes an eraser well. Draw your grid in a 2H pencil, very lightly, and keep the knot itself in HB so it stands out. You will need a ruler, a soft eraser, and a scrap of tracing paper for checking the pattern.
Choose a unit size and stick to it. One-centimetre squares are comfortable for a first attempt. For a medallion, draw a square roughly eight units by eight and mark the intersections lightly. For a border, draw a long rectangle about three units tall and divide its length into two-unit columns. Keep the grid faint: heavy grid lines leave grey smudges and pressed dents that no eraser will shift.
This is the step beginners skip, and it is the one that separates a crisp knot from a muddle. Do not draw the ribbon yet. Mark the crossing points.
Crossings sit on the grid in a staggered arrangement. Picture a chessboard: a crossing on a black square means no crossing on the white squares around it. Leave at least two grid units between crossings in any direction. Pack them closer than that and the ribbon has nowhere to breathe — the knot bunches into a blob and you cannot see where one strand ends and the next begins.
For a four-lobed medallion, mark four crossings in a diamond or a square. For a repeating border, mark a row of crossings, then a second row offset by one unit from the first, so the pattern staggers rather than stacking.
Sketch three or four layouts at about four centimetres square before you commit to the full-size drawing. A pattern that looks strong at thumbnail size will look strong at any size. One that reads as busy at four centimetres will read as a mess at twenty.
Now draw the centreline — a single thin line, not the ribbon. This is the skeleton the whole knot hangs on.
Draw this stage lightly. The centreline is scaffolding. If a turn looks wrong, rub it out and try the other direction — it is much easier to correct now than after the ribbon has been drawn around it.
Decide the ribbon width — half a grid square works well on a one-centimetre grid — and draw a parallel line on each side of the centreline at that distance. Work in short strokes and keep the width constant all the way round. The width is what gives a knot its weight, and a ribbon that swells and narrows will look amateurish no matter how good the pattern is.
Turns need care. The inner edge takes a tight corner; the outer edge has further to travel, so cut it back with a short diagonal rather than leaving a fat square corner. A simple way is to extend both edges slightly past one another at the turn and join them with a single straight line. Then soften the inner corner just a touch with the eraser.
At each crossing, one strand passes over and the other passes under. Decide which is which — the choice is yours, but it must alternate once you have made it — then erase the two short segments where the under-strand's outlines would meet the over-strand's edges. Do one crossing at a time and step back to check.
Then run the alternation test. Trace each strand from start to finish with your eye. If it goes over twice in a row anywhere, flip one of the two crossings. If the knot is a closed loop, the pattern should resolve neatly; if it doesn't, the fault is almost always a crossing that was joined in the wrong direction.
Once one unit works, repeating it is mostly a matter of patience. A border is the same plait unit repeated along the length, with the ribbon width held constant across every join. Draw the full grid first, mark every crossing across the whole run, and only then join them — marking as you go is what causes patterns to drift.
Corners are where most borders fall apart. Do not simply bend the pattern around a right angle. Instead, draw a small corner motif — a loop or a spiral — and let the incoming strands die into it. The alternative is to mitre the border along the diagonal and redraw the crossings where the two runs meet.
For a medallion, mirror your unit horizontally and vertically around a centre point. A four-lobed knot is essentially a plait reflected four times, and the mirroring automatically keeps the alternation consistent. If you want a denser centre, draw a square border and set a smaller version of the same knot inside it.
Draw the same knot three times at three different sizes. The first will be shaky, the second will teach you where the tricky turns are, and the third will be the one worth keeping. Tracing is legitimate practice: place a printout under a window or on a light box, trace the outlines, then turn the paper over and draw it from memory.
When you are happy with the pencil version, ink it with a fine-liner over the top, wait for it to dry fully, then erase the grid and the pencil lines underneath. Keep a sketchbook of units you have worked out — a page of crossings and their joined paths — because the second knot is always faster than the first, and the tenth is faster still.
Photo: Darkmoon_Art / Pixabay
A practical, step-by-step checklist for getting a motif collection pitch-ready — seamless repeats,...
How warm and cool colours, value and contrast change the mood of a motif, plus three practical palette...
Turn sketches into stitch-ready embroidery files with practical steps for scanning, cleaning and...